You go upstairs and the bedroom is like an oven. You come back down to the living room and the radiator is barely warm. This imbalance between floors in a house rarely points to a complete boiler failure. The problem is more likely to lie in how hot water circulates through the heating system, and a few targeted adjustments are often enough to restore even comfort.
Water circulation and gravity: why the upstairs gets all the heat
Hot water leaving the boiler follows the path of least resistance. In a two-story house, the upstairs radiators are often closer to the boiler on the circuit or served by shorter pipes. They get the hot water first.
By the time it reaches the ground-floor radiators, the water has already given up some of its heat. If the flow is not properly balanced, the radiators downstairs receive only a trickle of lukewarm water while those upstairs run at full capacity.
This problem can worsen when radiators stay cold downstairs while heating works upstairs gradually becomes an issue, season after season, without anyone noticing. Three main causes explain this situation: poor balancing, an incorrectly adjusted circulator, or sludge buildup in the system.
Balancing the heating system: the adjustment nobody makes
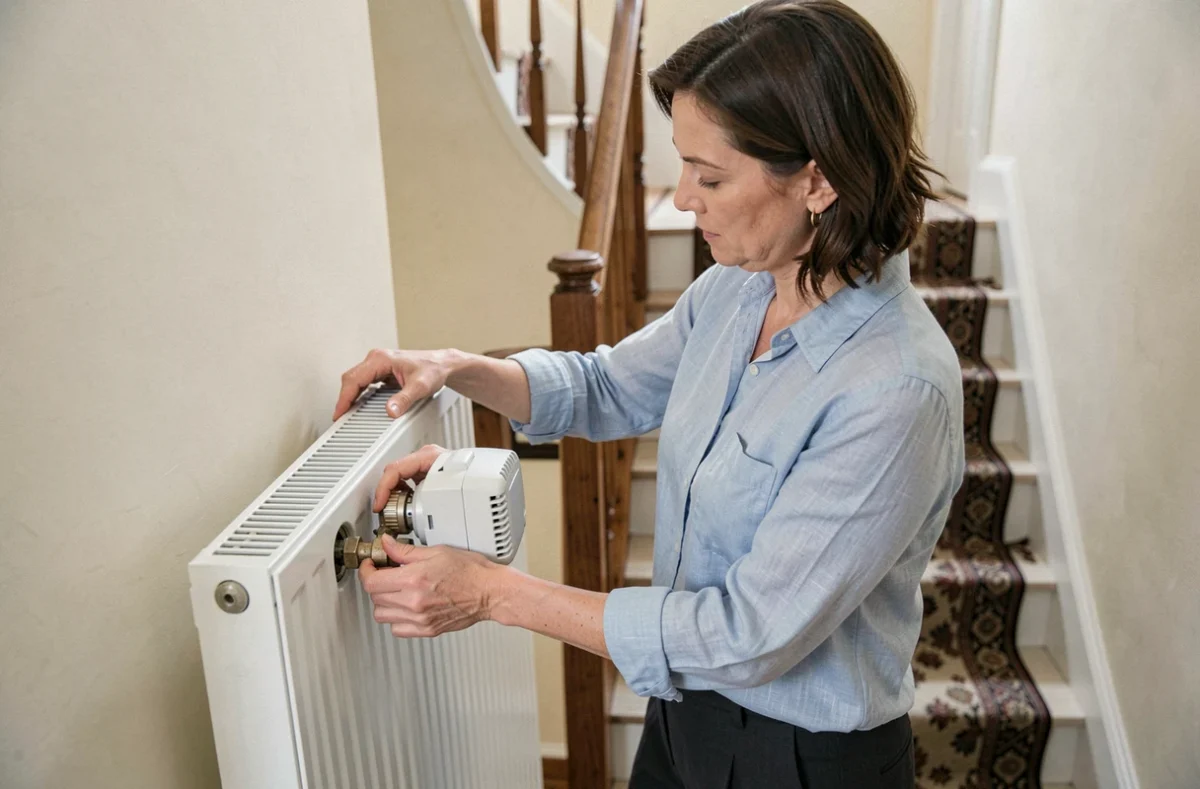
Have you ever noticed the small valves at the bottom of each radiator, often hidden under a cap? These are balancing valves (sometimes called lockshield valves). They regulate the flow of hot water to each radiator.
Balancing means restricting the radiators that get too hot so more flow reaches those that need heat. The principle is simple: partially close the valves on the hottest radiators (usually upstairs) to direct water to the radiators downstairs.
How to do it without specialist equipment
Start by opening all the thermostatic valves fully. Let the system warm up for about 30 minutes. Then identify the radiators that are very hot and those that remain cold or lukewarm.
- Turn the balancing valve on each radiator that is too hot upstairs a quarter turn toward closed, then wait about 20 minutes to see the result
- Check whether the ground-floor radiators are starting to warm up, and adjust as needed by closing the upstairs valves a little further
- Note the final position of each valve (number of turns open) so you have a reference if the problem reappears
Keeping a record of the settings means you won’t have to start from scratch every fall. If you call a heating engineer, ask for a settings chart showing the position of each valve and the temperatures recorded.
Circulator and pressure: two often-overlooked checks
The circulator is the pump that moves water through the system. Many boilers have circulators with multiple speed settings. If the circulator is set too low, it may not push enough water to properly supply the radiators furthest away, often those on the ground floor.
Increasing the circulator speed may be enough to restore flow to cold radiators. The setting is adjusted directly on the pump, which is located on or next to the boiler. Check the manual or have it inspected during your annual service.
System pressure: a reading to keep an eye on
The boiler’s pressure gauge shows the water pressure in the system. If the needle drops below the green zone (often below 1 bar when cold), the system is low on water. The radiators furthest away or lowest down may no longer receive enough water.
To raise the pressure, slowly open the filling valve until it reaches the range recommended by the manufacturer. Remember to bleed the radiators after each refill, as adding fresh water introduces air into the system.
Sludge in the heating system: when bleeding and balancing are no longer enough
Over the years, particles from corrosion, limescale and oxides settle in the pipes and radiators. This sludge builds up mainly in the lower parts of the system, where water flows most slowly. As a result, the ground-floor radiators gradually become clogged.
A telltale sign: you’ve bled the radiators, balanced the system, and checked the circulator and pressure, yet some radiators remain cold at the bottom even though the top is very warm. This pattern points to internal buildup.
Power flushing: a thorough cleaning process
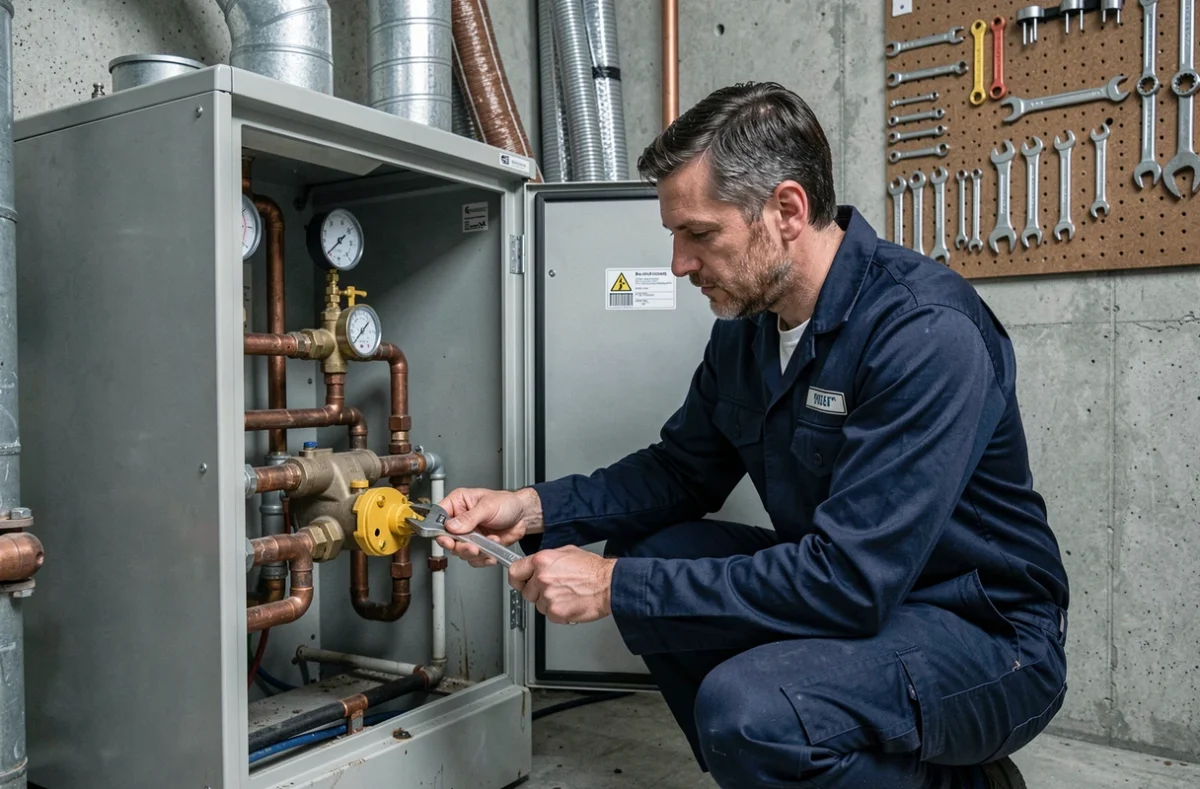
Power flushing involves injecting a cleaning product into the system, then flushing it under pressure to remove deposits. The work is carried out by a heating engineer using a dedicated pump.
- Power flushing addresses the cause (the deposits), not the symptom (the cold radiator)
- After cleaning, the system often needs to be balanced again because removing obstructions changes the water flow
- Adding a corrosion inhibitor after power flushing slows sludge from building up again and protects the system for several seasons
Power flushing followed by balancing delivers the best long-term results. It’s the most comprehensive way to restore even heat distribution between floors.
Communal heating: an imbalance you can’t fix on your own
In an apartment building, a cold radiator in one apartment may indicate a problem with the riser or the shared heating system. Opening or closing your own valves won’t correct an uneven flow between multiple apartments.
Balancing a communal heating system is the responsibility of the property manager or heating operator. It involves locating the shared valves, measuring flow rates in each riser, and sometimes replacing worn-out valves. Report the problem to the property manager rather than attempting an isolated adjustment that could throw other apartments out of balance.
A heating system doesn’t stay the same over time. Sludge builds up, valves seize, and flow rates shift. Revisiting these settings at the start of each heating season—or at least whenever you notice a temperature difference between floors—is the most reliable way to maintain consistent comfort throughout the house.